With the spring season in full bloom, the urge to make some changes stirs in all of us, hence the term “spring cleaning”. This is why most renovation and refurbishment projects in homes and commercial facilities happen once the cold days are over and it’s warm enough to stay outside for longer periods of time. For those who are wanting to make a change, we’ve prepared for you the best tips to use when painting on five types of surfaces. These surfaces were chosen because they are the most popular ones to renovate, depending on the project. Some of these tips may be ones you haven’t heard of, so keep your eyes peeled and read on.
HARDWOOD
Sand between coats and use fine grain sandpaper
This is possibly one of the most common surfaces to renovate, not only in commercial spaces, but homes as well. If you want your work to look like it was done by professionals, make sure to sand between coats. Most people forget this step, but in doing this, you minimize the inconsistencies of your previous coat.
Take into consideration that you need to use fine grain sandpaper for this step. This is crucial for you to be able to get the best results. Remember to also do this process using a light hand, as going too hard could possibly make the surface uneven.
DRYWALL
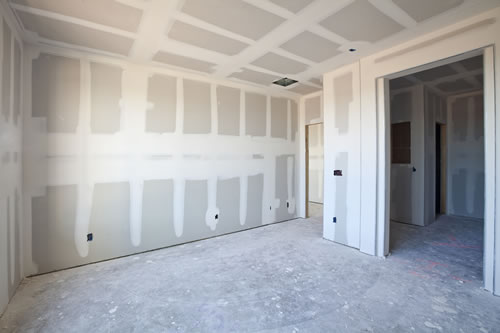
Prime
Priming is an essential step to make your paint last longer, but it does not come cheap. Even professional painters reach for cheap latex paint to use as a primer. Of course, the result won’t be the same as that of primer-sealers that are purposely made for drywall only. Buying a gallon of flat latex paint retails at about $10 to $15, whereas you pay $40 or more for the top-tier finish paint. If you want your paint last longer though, think of taking the extra expense; It might cost more in the beginning, but save you having to paint again in a few years.
STUCCO
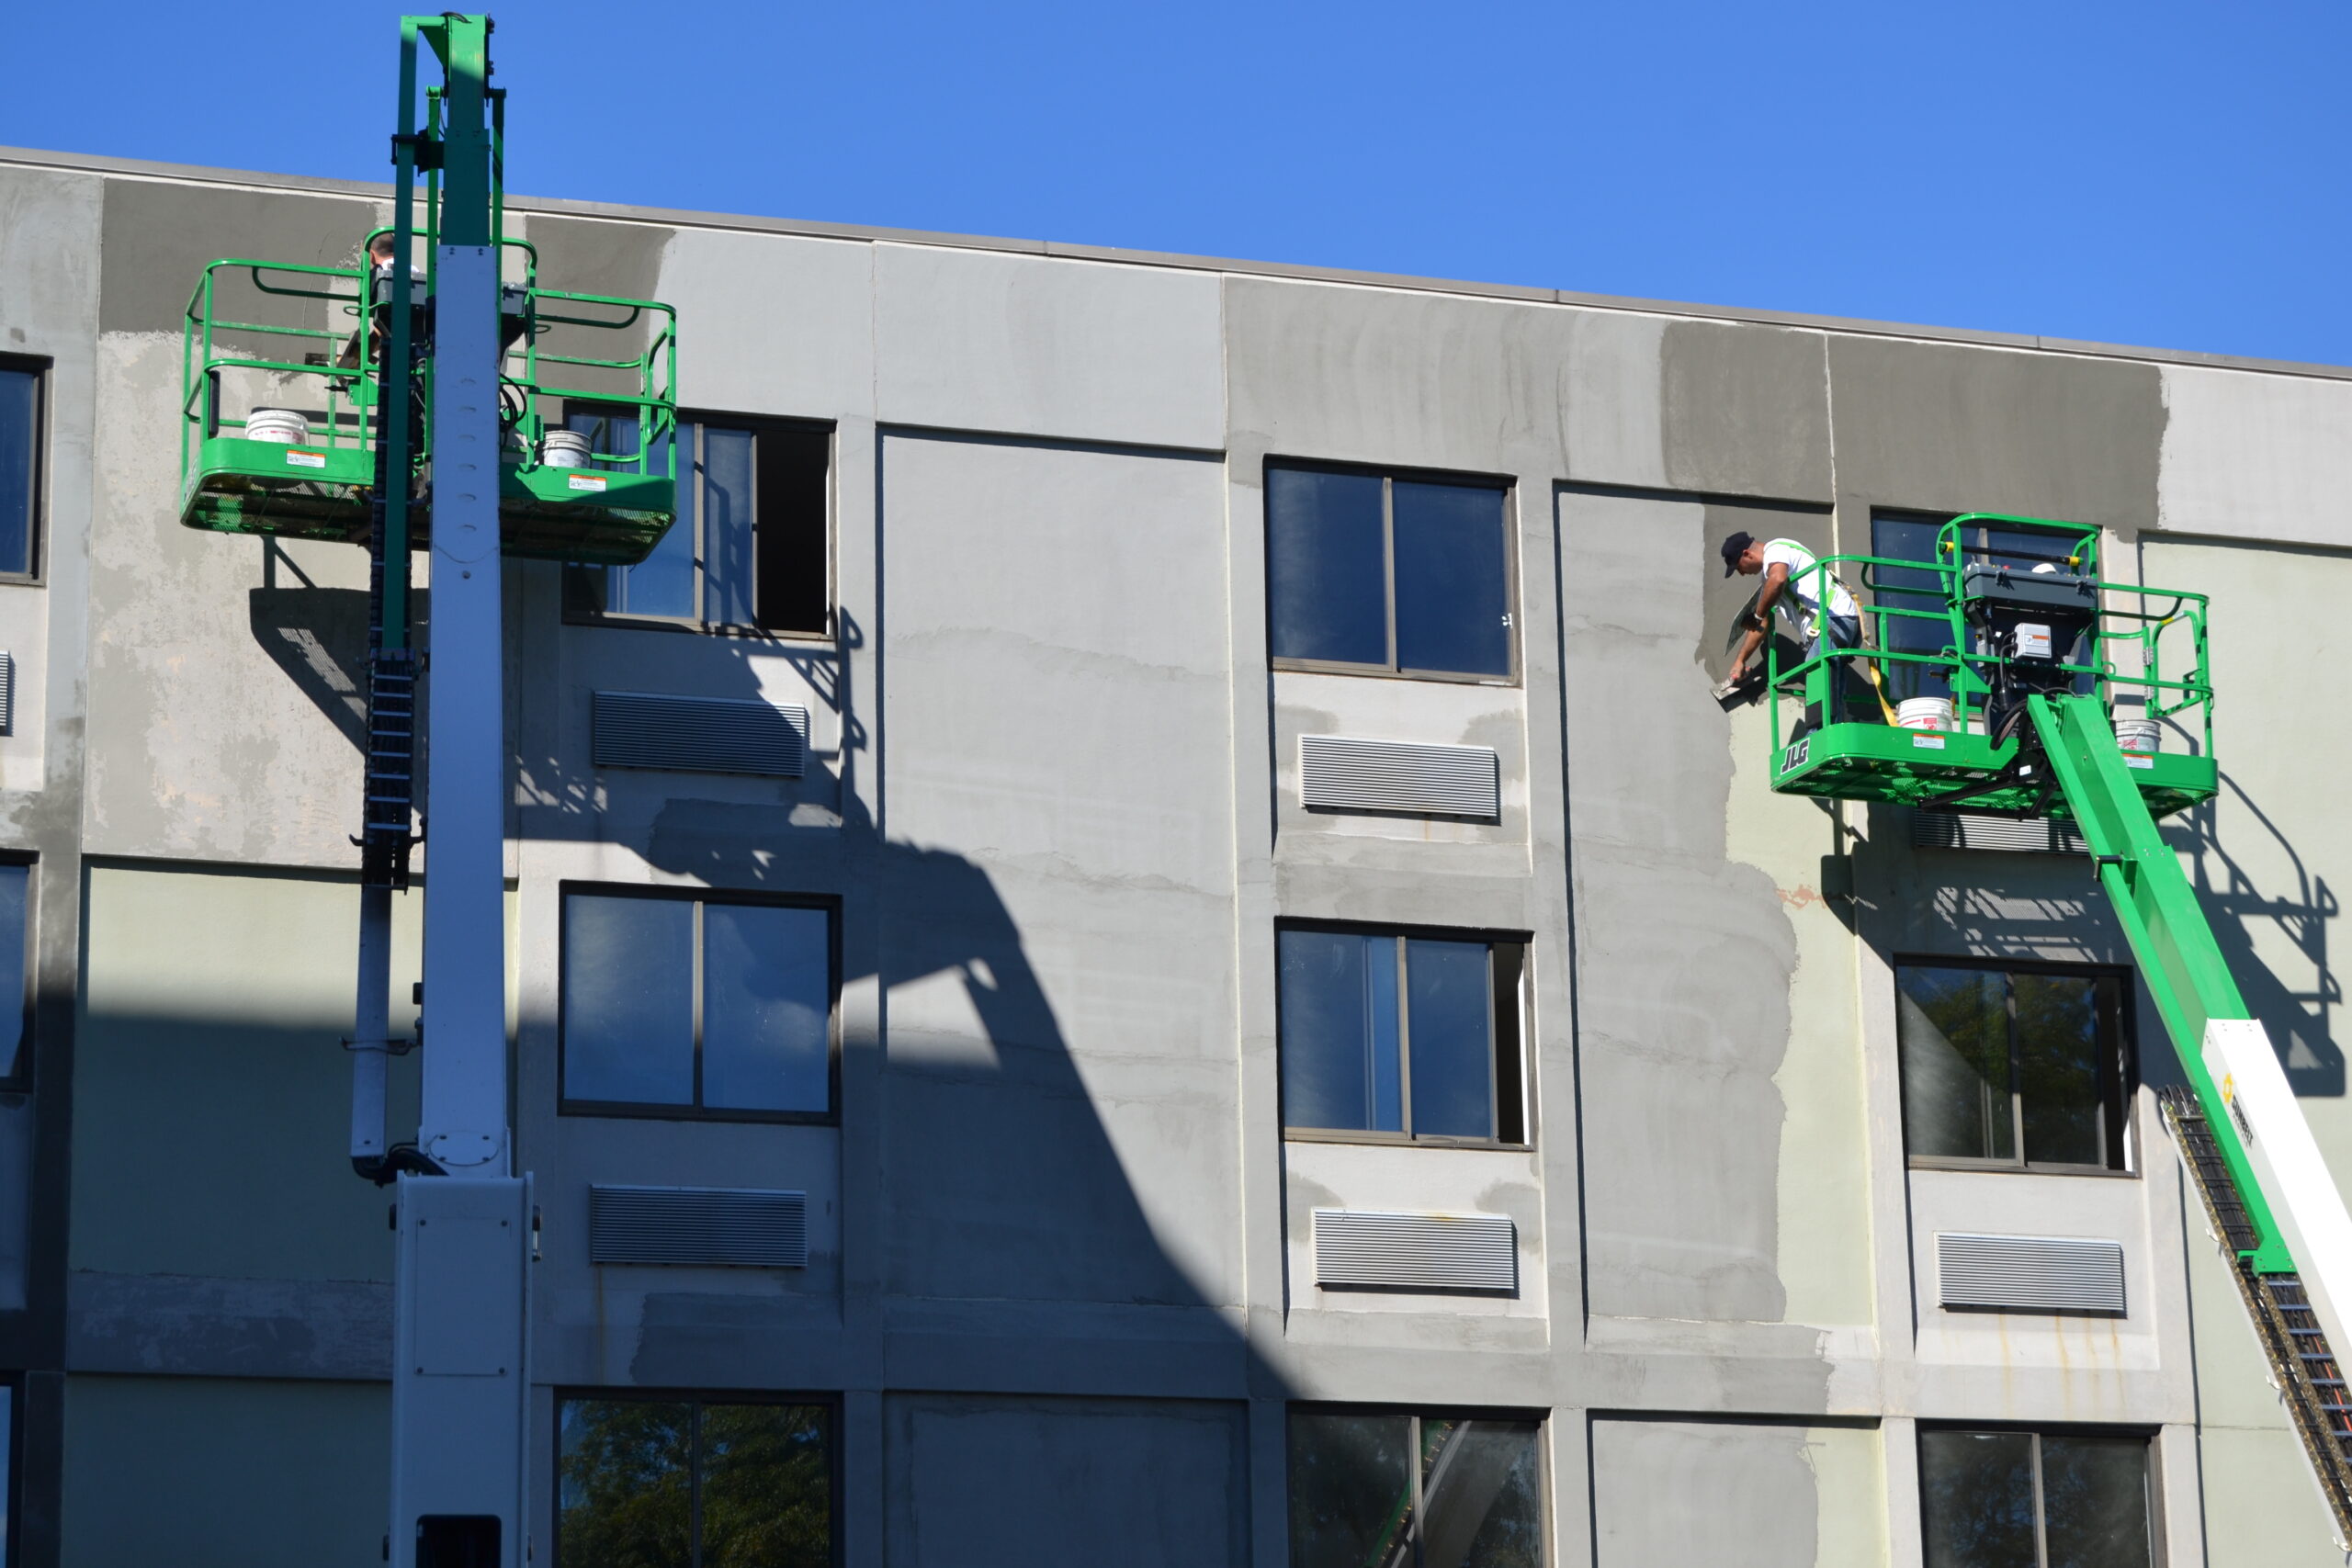
Pressure wash
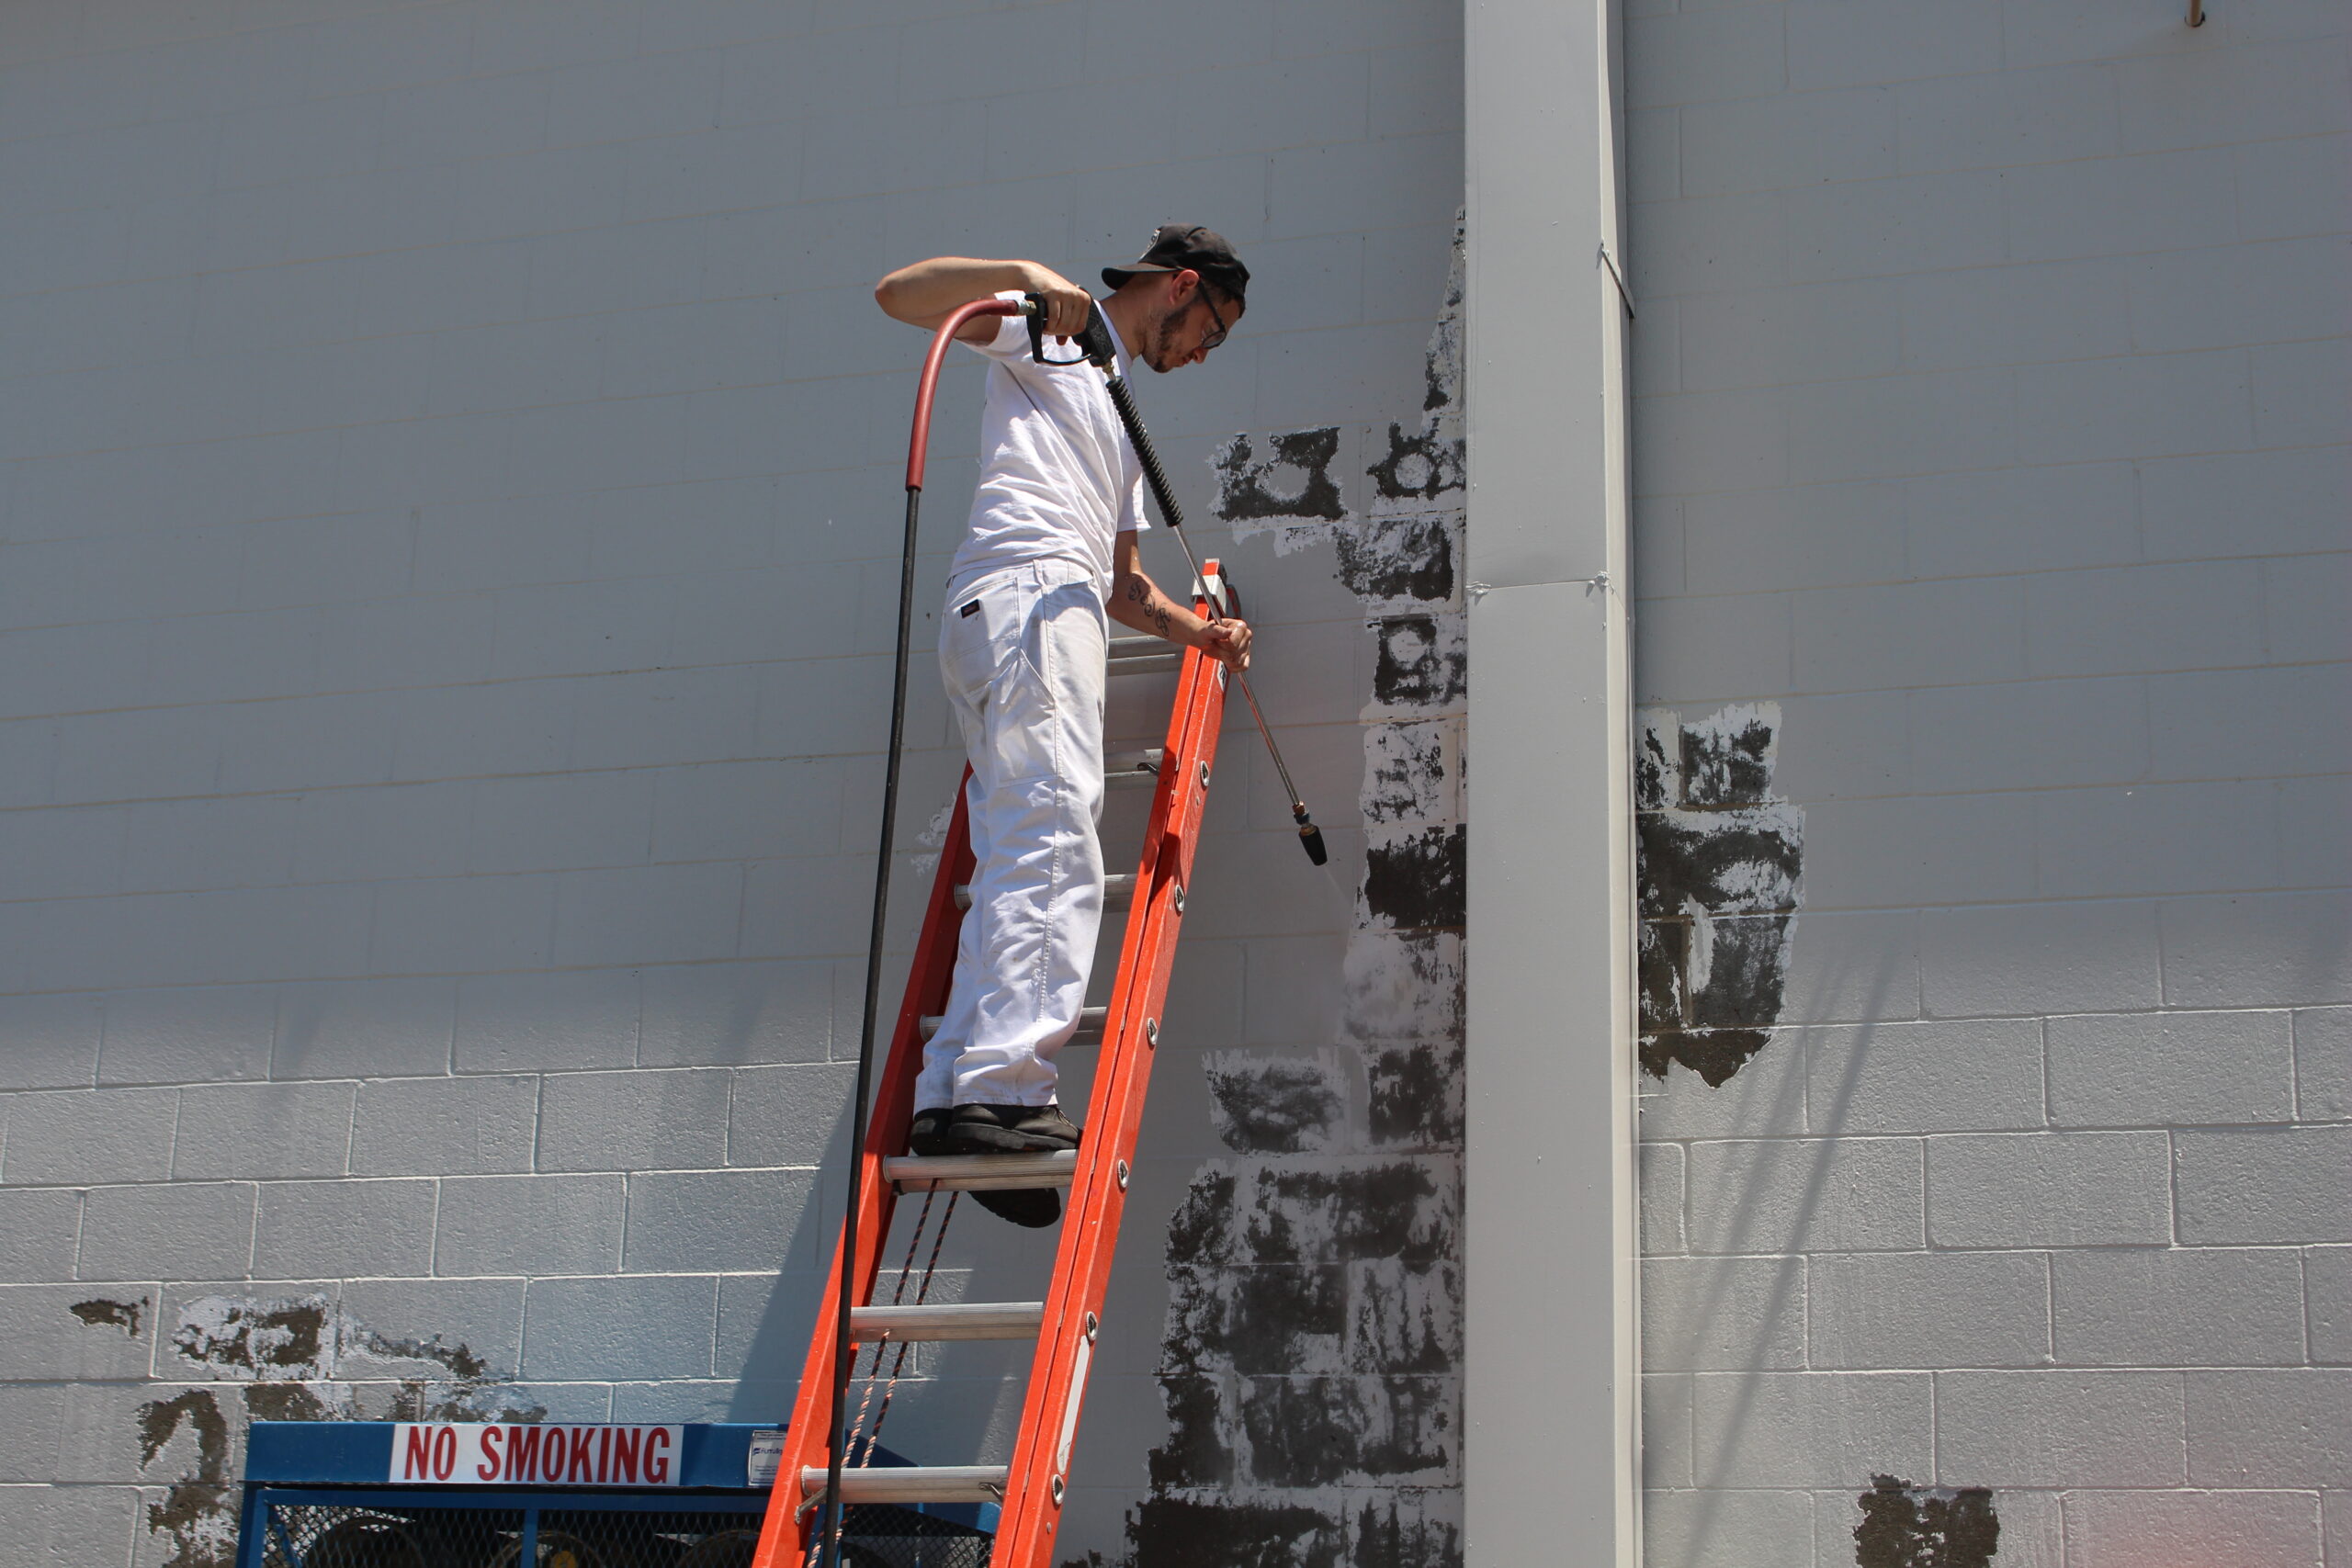
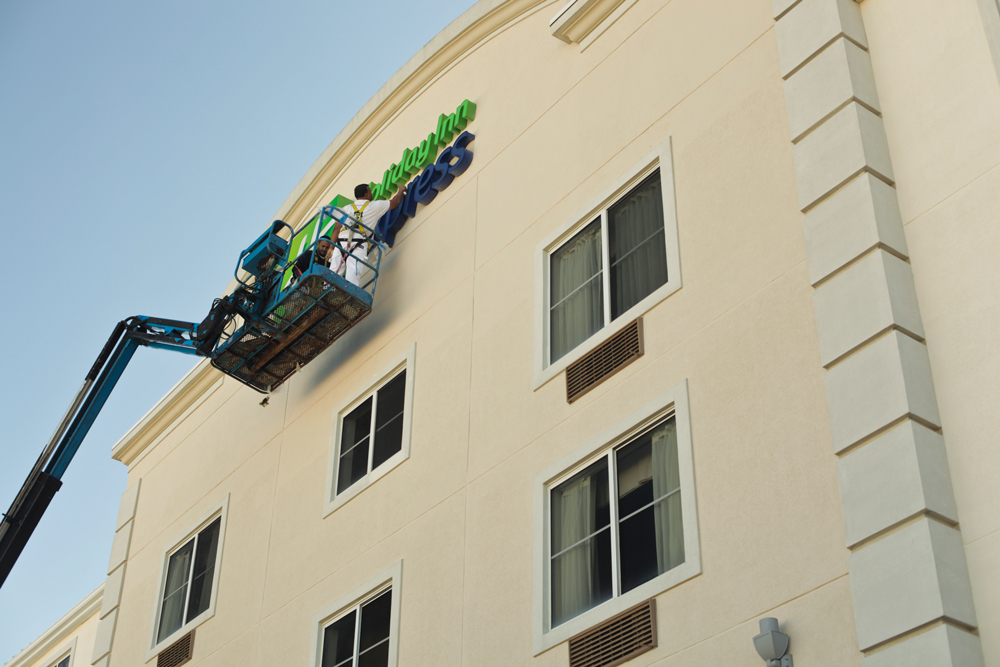
Pressure washing before you paint is an essential step to remove debris and dirt, allowing the paint to stick well to the surface. It can be an expensive tool to have, but if you don’t own one, there may be professional power washing services in your area or even places where you can rent equipment as well.
BRICK MASONRY
Remove old coats and do not paint over new brick
It is recommended that you do not paint over the old paint already on the brick. You should first remove old coats of paint and check for any masonry damage. If there is any damage, it should be removed and replaced with new mortar.
You should also try and avoid painting on new, porous bricks and instead, allow it to weather naturally before application; This allows moisture within new bricks to drain out. By not painting over new brick, you avoid this moisture getting trapped in, making your paint job last much longer.
CERAMIC TILES
Clean and sand
As with all surfaces discussed so far, it is necessary to first clean the area you’re planning to paint over. Ceramic-tiled surfaces are not an exception. The difference in this case is that you can use a regular steam cleaner to clean thoroughly before painting because the hot steam seeps into every nook and cranny, successfully loosening dirt, grease and grime.
Also try sanding the tiles before painting, since this gives the paint something to stick to. Just make sure to clean any dust before painting, since this might cause the surface to be uneven and not prime for painting.
These tips, though simple, are ones that most amateur painters or even pros sometimes forget, but they make a big difference that pays off in the end result. So, keep these in mind when you’re tackling a new project, especially in the coming months.


